

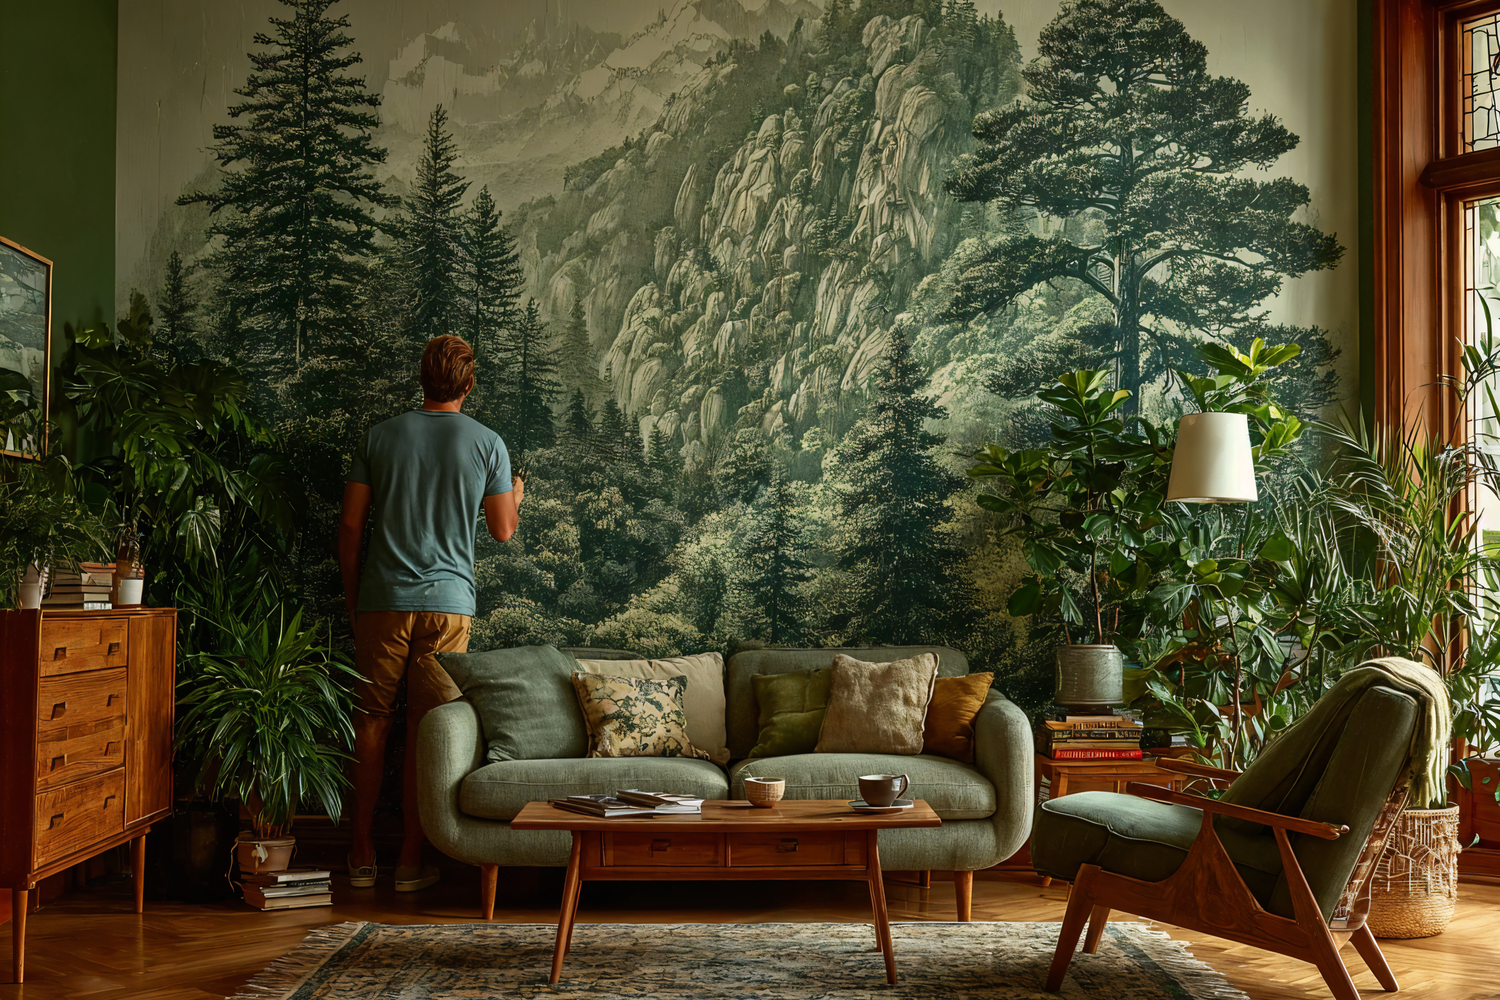
El papel tapiz autoadhesivo ha transformado por completo la forma en que la gente decora sus hogares. Es rápido, limpio y fácil de instalar: sin pegamento, sin desorden, sin compromiso.
Pero para lograr ese aspecto suave y profesional que se ve en las fotografías, hay más que simplemente "pegar y listo".
En esta guía detallada, aprenderá cómo instalar papel tapiz autoadhesivo sin superposiciones, qué herramientas necesita realmente y cómo preparar su pared para que el adhesivo funcione perfectamente.
También explicaremos la diferencia entre el poliéster sin PVC Peel & Stick y el vinilo Peel & Stick , y cuál es el mejor para su proyecto.
¿Por qué elegir papel tapiz autoadhesivo?
A diferencia del papel tapiz tradicional, que requiere pegamento y tiempo de secado, el despegar y pegar funciona como una calcomanía gigante de alta calidad.
Simplemente retire el papel protector y alise el lado adhesivo sobre la pared.
Es ideal si:
- Vive en un alquiler o quieres un diseño temporal
- Prefiero una instalación limpia y sin desorden.
- ¿Quieres refrescar un espacio en unas horas?
- Disfruta de proyectos de bricolaje
Como el adhesivo viene preaplicado, se adhiere inmediatamente , lo cual constituye su mayor ventaja y su principal desafío. Es necesario colocarlo correctamente la primera vez, por lo que la preparación y alineación de la superficie son fundamentales.
Consejo profesional: Cuanto más lisa y limpia sea tu pared, más fuerte y duradero será tu papel tapiz autoadhesivo.
Comprensión de los dos tipos de materiales de despegar y pegar
En Chic & Kiddo , ofrecemos dos opciones premium de despegar y pegar, ambas impresas en paneles personalizados para una alineación perfecta del patrón y un desperdicio mínimo.
| Material | Beneficios clave | Uso ideal |
|---|---|---|
| Sin PVC (poliéster) | Ecológico, ligero, transpirable y reposicionable. Su acabado mate le da un aspecto premium. | Perfecto para dormitorios, guarderías, salas de estar o espacios de alquiler. |
| Vinilo despegar y pegar | Más duradero, resistente a la humedad, lavable y con un adhesivo fuerte. Acabado ligeramente brillante. | Ideal para cocinas, baños y áreas de mucho tráfico. |
Por qué el vinilo funciona mejor en baños y zonas de mucho tránsito
La estructura del vinilo repele la humedad de forma natural. Su superficie no porosa evita que la humedad y las salpicaduras penetren y debiliten el adhesivo.
Esto lo hace ideal para baños (fuera de zonas de agua directa), lavaderos o entradas, espacios donde el poliéster sin PVC podría absorber humedad y perder adherencia con el tiempo.
El vinilo también resiste mejor las rozaduras y las manchas, lo que lo convierte en una opción más duradera para hogares con mucho movimiento o espacios públicos.
Herramientas que necesitarás
- Cinta métrica y lápiz
- Herramienta de nivel o línea láser
- Cuchillo multiusos con hojas nuevas
- Regla de borde recto o de metal
- Herramienta para alisar o escobilla de goma para papel tapiz
- Rodillo de costura (especialmente para vinilo)
- Lonas protectoras y cinta de pintor
- Paño de microfibra húmedo
Tener las herramientas adecuadas le ayudará a trabajar de forma limpia, evitar estirar el material y mantener una alineación perfecta.
Guía paso a paso: Cómo aplicar papel tapiz autoadhesivo (sin superposiciones)
Paso 1: Preparar la pared
El papel tapiz despegable y adhesivo depende completamente del contacto del adhesivo , por lo que si su pared tiene polvo, textura o pintura irregular, el adhesivo no podrá adherirse adecuadamente.
Piense en ello como si estuviera aplicando una pegatina grande: incluso las pequeñas protuberancias o manchas de grasa provocarán burbujas y mala adhesión.
A continuación te indicamos cómo preparar tu pared correctamente:
- Limpiar con agua y jabón suave para eliminar suciedad o aceites.
- Secar completamente: nunca instalar sobre paredes húmedas.
- Rellene los agujeros o grietas y luego lije hasta que quede suave.
- Si su pared fue pintada recientemente, espere al menos 3 semanas para que la pintura se seque completamente.
- Evite aplicarlo sobre paredes texturizadas o brillantes: el adhesivo necesita una base plana y mate.
🧽 Por qué es importante: El adhesivo del papel pintado autoadhesivo es sensible a la presión, lo que significa que se adhiere mejor a superficies lisas y uniformes con una ligera presión. Las paredes rugosas o aceitosas reducen el contacto con la superficie, lo que provoca que se despeguen las esquinas o se formen burbujas.
Paso 2: Mida y planifique su diseño
Antes de pelar cualquier cosa, planifique todo.
Mide la altura y el ancho de tu pared y compárala con los paneles de papel tapiz.
Si utiliza papeles pintados Chic & Kiddo , su mural o patrón llega en paneles numerados , impresos para que combinen a la perfección sin necesidad de recortar patrones.
Colóquelos en el suelo en orden, de izquierda a derecha, para visualizar la disposición y confirmar la dirección del patrón.
Marque el punto de partida con un nivel o una línea láser. Comience siempre por el lado más visible (por ejemplo, cerca de una puerta o una fuente de luz principal), para que cualquier pequeña desalineación sea menos visible.
Paso 3: Aplicar el primer panel
- Retire las 6 a 10 pulgadas superiores del papel protector y dóblelo hacia abajo.
- Alinee el borde superior con el techo o la marca de inicio; use el nivel para volver a verificar.
- Presione suavemente la sección superior sobre la pared, alisándola desde el centro hacia afuera .
- Una vez alineado, continúe despegando el soporte gradualmente mientras presiona y alisa a medida que avanza.
⚠️ ¡ Evita pelar todo el soporte a la vez!
Este es uno de los errores más comunes de los principiantes: hace que el adhesivo se pegue a sí mismo o acumule polvo antes de llegar a la pared.
Paso 4: Bordes a tope: nunca superpuestos
Cada panel debe coincidir con el borde vecino, sin superponerse.
Los materiales autoadhesivos están diseñados con bordes precisos que se alinean perfectamente. La superposición puede causar crestas, huecos o que se levanten con el tiempo, ya que el vinilo y el poliéster no se encogen uniformemente.
💡 Por qué: A diferencia del papel tapiz tradicional, el autoadhesivo no se absorbe ni se expande, sino que mantiene su tamaño exacto. Superponerlo duplica el grosor del adhesivo, lo que puede provocar juntas visibles o incluso descascarillado con los cambios de temperatura o humedad.
Paso 5: Suavizar y ajustar
Utilice su herramienta alisadora o escobilla de goma para papel tapiz para eliminar las burbujas de aire a medida que avanza.
Trabaje desde el centro hacia los bordes con una presión constante y uniforme: no fuerce ni estire el material.
Si nota una desalineación:
- Levante suavemente la sección hacia arriba.
- Vuelva a colocarlo y alise nuevamente.
El poliéster sin PVC es más flexible y se puede reposicionar varias veces. El vinilo permite un ligero reposicionamiento, pero puede estirarse si se tira con demasiada fuerza, así que muévelo con cuidado.
Paso 6: Recortar y terminar
Una vez que todos los paneles estén instalados:
- Recorte los bordes limpiamente utilizando un cuchillo afilado y una regla de metal.
- Para el vinilo, pase suavemente un rodillo sobre las costuras para asegurar la adhesión.
- Revise las esquinas y los bordes: presione firmemente si alguna parte se siente suelta.
Limpie suavemente con un paño húmedo para eliminar huellas dactilares o polvo.
Consejos profesionales de expertos en papel tapiz
- Instale siempre el papel tapiz autoadhesivo en sentido vertical , no horizontal: esto evita que se hunda.
- Mantenga una temperatura ambiente moderada durante la instalación (idealmente entre 20 y 25 °C / 68 y 77 °F). El calor extremo ablanda el adhesivo y el aire frío lo endurece.
- Si se instala alrededor de ventanas o rejillas de ventilación, deje un pequeño espacio de 1 a 2 mm para evitar la expansión térmica.
- Para baños: instalar lejos de chorros de agua directos; asegurar una buena ventilación.
Preguntas frecuentes (y respuestas sinceras)
P: ¿Puedo instalar pegatinas autoadhesivas sobre paredes con textura o papel tapiz viejo?
R: No se recomienda. El adhesivo necesita un contacto limpio y plano. Las texturas atrapan el aire y el patrón se verá irregular.
P: ¿Cómo lo elimino más tarde?
R: Comience desde una esquina y despéguelo lentamente en un ángulo de 45°. Cualquier residuo se puede limpiar con agua jabonosa suave. Tanto las opciones sin PVC como las de vinilo se retiran limpiamente sin dañar las superficies pintadas.
P: ¿Puedo reutilizarlo?
R: Es técnicamente posible, pero no es ideal. Una vez retirado, el adhesivo acumula polvo, lo que reduce el agarre. Es mejor usar un panel nuevo para obtener mejores resultados.
Mantenimiento y longevidad
- Limpie suavemente con un paño suave y húmedo ; evite frotar o usar detergentes fuertes.
- Mantener alejado del vapor directo o la humedad prolongada a menos que utilice vinilo .
- El papel tapiz autoadhesivo correctamente instalado puede durar entre 5 y 10 años en interiores.
Reflexiones finales
Aplicar papel tapiz autoadhesivo es más fácil de lo que parece, pero el secreto del éxito es la preparación y la precisión .
Cuando lo tratas como un proyecto de diseño en lugar de una solución rápida de bricolaje, los resultados lucirán de alta calidad y durarán años.
EnChic & Kiddo , producimos papeles pintados y murales autoadhesivos de tamaño personalizado en paneles fáciles de instalar, adaptados a las dimensiones exactas de su pared.
Ya sea que desee una textura sutil, un patrón atrevido o un mural artístico, su espacio merece un ajuste perfecto.

Dejar un comentario
Este sitio está protegido por hCaptcha y se aplican la Política de privacidad de hCaptcha y los Términos del servicio.