


Wallpapering a ceiling is one of the most impressive ways to transform a space. Once overlooked, the ceiling is now called the fifth wall — a creative canvas that can make any room feel more luxurious, cozy, or bold.
In this detailed guide, we’ll explain how to apply wallpaper or wall murals on ceilings, what tools you’ll need, which materials work best, and how to achieve a flawless finish.
Why Wallpaper a Ceiling?
Wallpapering a ceiling adds character and dimension to a room. Whether you’re installing a floral pattern, a marble-textured mural, or a custom sky design, ceiling wallpaper:
- Turns a plain ceiling into a focal point
- Helps hide minor imperfections in plaster or paint
- Adds depth, warmth, and personality
- Works perfectly for bedrooms, dining areas, offices, and boutique interiors
Ceilings can be tricky to install wallpaper on — but with the right materials and some planning, you can create a professional result that lasts.
Best Materials for Ceiling Wallpaper
When it comes to ceilings, the type of wallpaper or mural material you choose makes a big difference. At Chic&Kiddo, we offer four premium materials, each suitable for different needs:
| Material | Description | Ceiling Suitability |
|---|---|---|
| Non-woven Non-pasted | Traditional material that requires adhesive application. Offers full control over glue strength and working time. Highly durable and breathable. | ✅ Best choice for ceilings |
| Non-woven Pre-pasted | Similar to non-pasted, but with adhesive pre-applied. Easy to install with water activation. | ✅ Great option for smaller ceilings |
| Peel & Stick PVC-free (polyester) | Eco-friendly, PVC-free, and repositionable. Ideal for temporary or rental spaces. | ⚠ Best for small ceilings or accent areas |
| Peel & Stick Vinyl | Durable and washable, with a strong adhesive. Works well in kitchens or bathrooms. | ⚠ Suitable for smaller panels only |
Why Non-woven Non-pasted is Best for Ceilings
When installing wallpaper overhead, control is everything. Non-woven non-pasted materials give you that control — you decide how much adhesive to use and how long it stays workable. This prevents sagging, ensures a tight bond, and avoids visible seams.
They’re also breathable and dimensionally stable, meaning they won’t expand or shrink when exposed to humidity — a common issue with other materials.
Where pre-pasted fits
Pre-pasted non-wovens are convenient (activate with water) and can work well on ceilings for medium-sized rooms. They offer simpler prepping and are cleaner for DIYers, but: because the paste is pre-applied you lose some control over bond strength and working time — you can’t choose a heavier adhesive if the ceiling or room conditions demand it. For that reason pre-pasted is a very good second choice, but not the top pick for long runs, heavy murals, or humid/unstable environments.
Peel & Stick (PVC-free and Vinyl) — caution for ceilings
Peel & stick (both PVC-free polyester and vinyl) are popular for walls and small accent panels, but they are less ideal for large ceiling installations because adhesive performance can vary with heat/humidity and heavier vinyl can sag under gravity over time. If you insist on peel & stick for a ceiling, choose lightweight PVC-free polyester, use short panels, and reinforce seams/edges with a thin bead of quality wallpaper adhesive. For large murals or whole-room ceilings, prefer non-woven non-pasted.

Wallpaper or Mural? What’s Better for a Ceiling?
Both look amazing — it depends on your design goal.
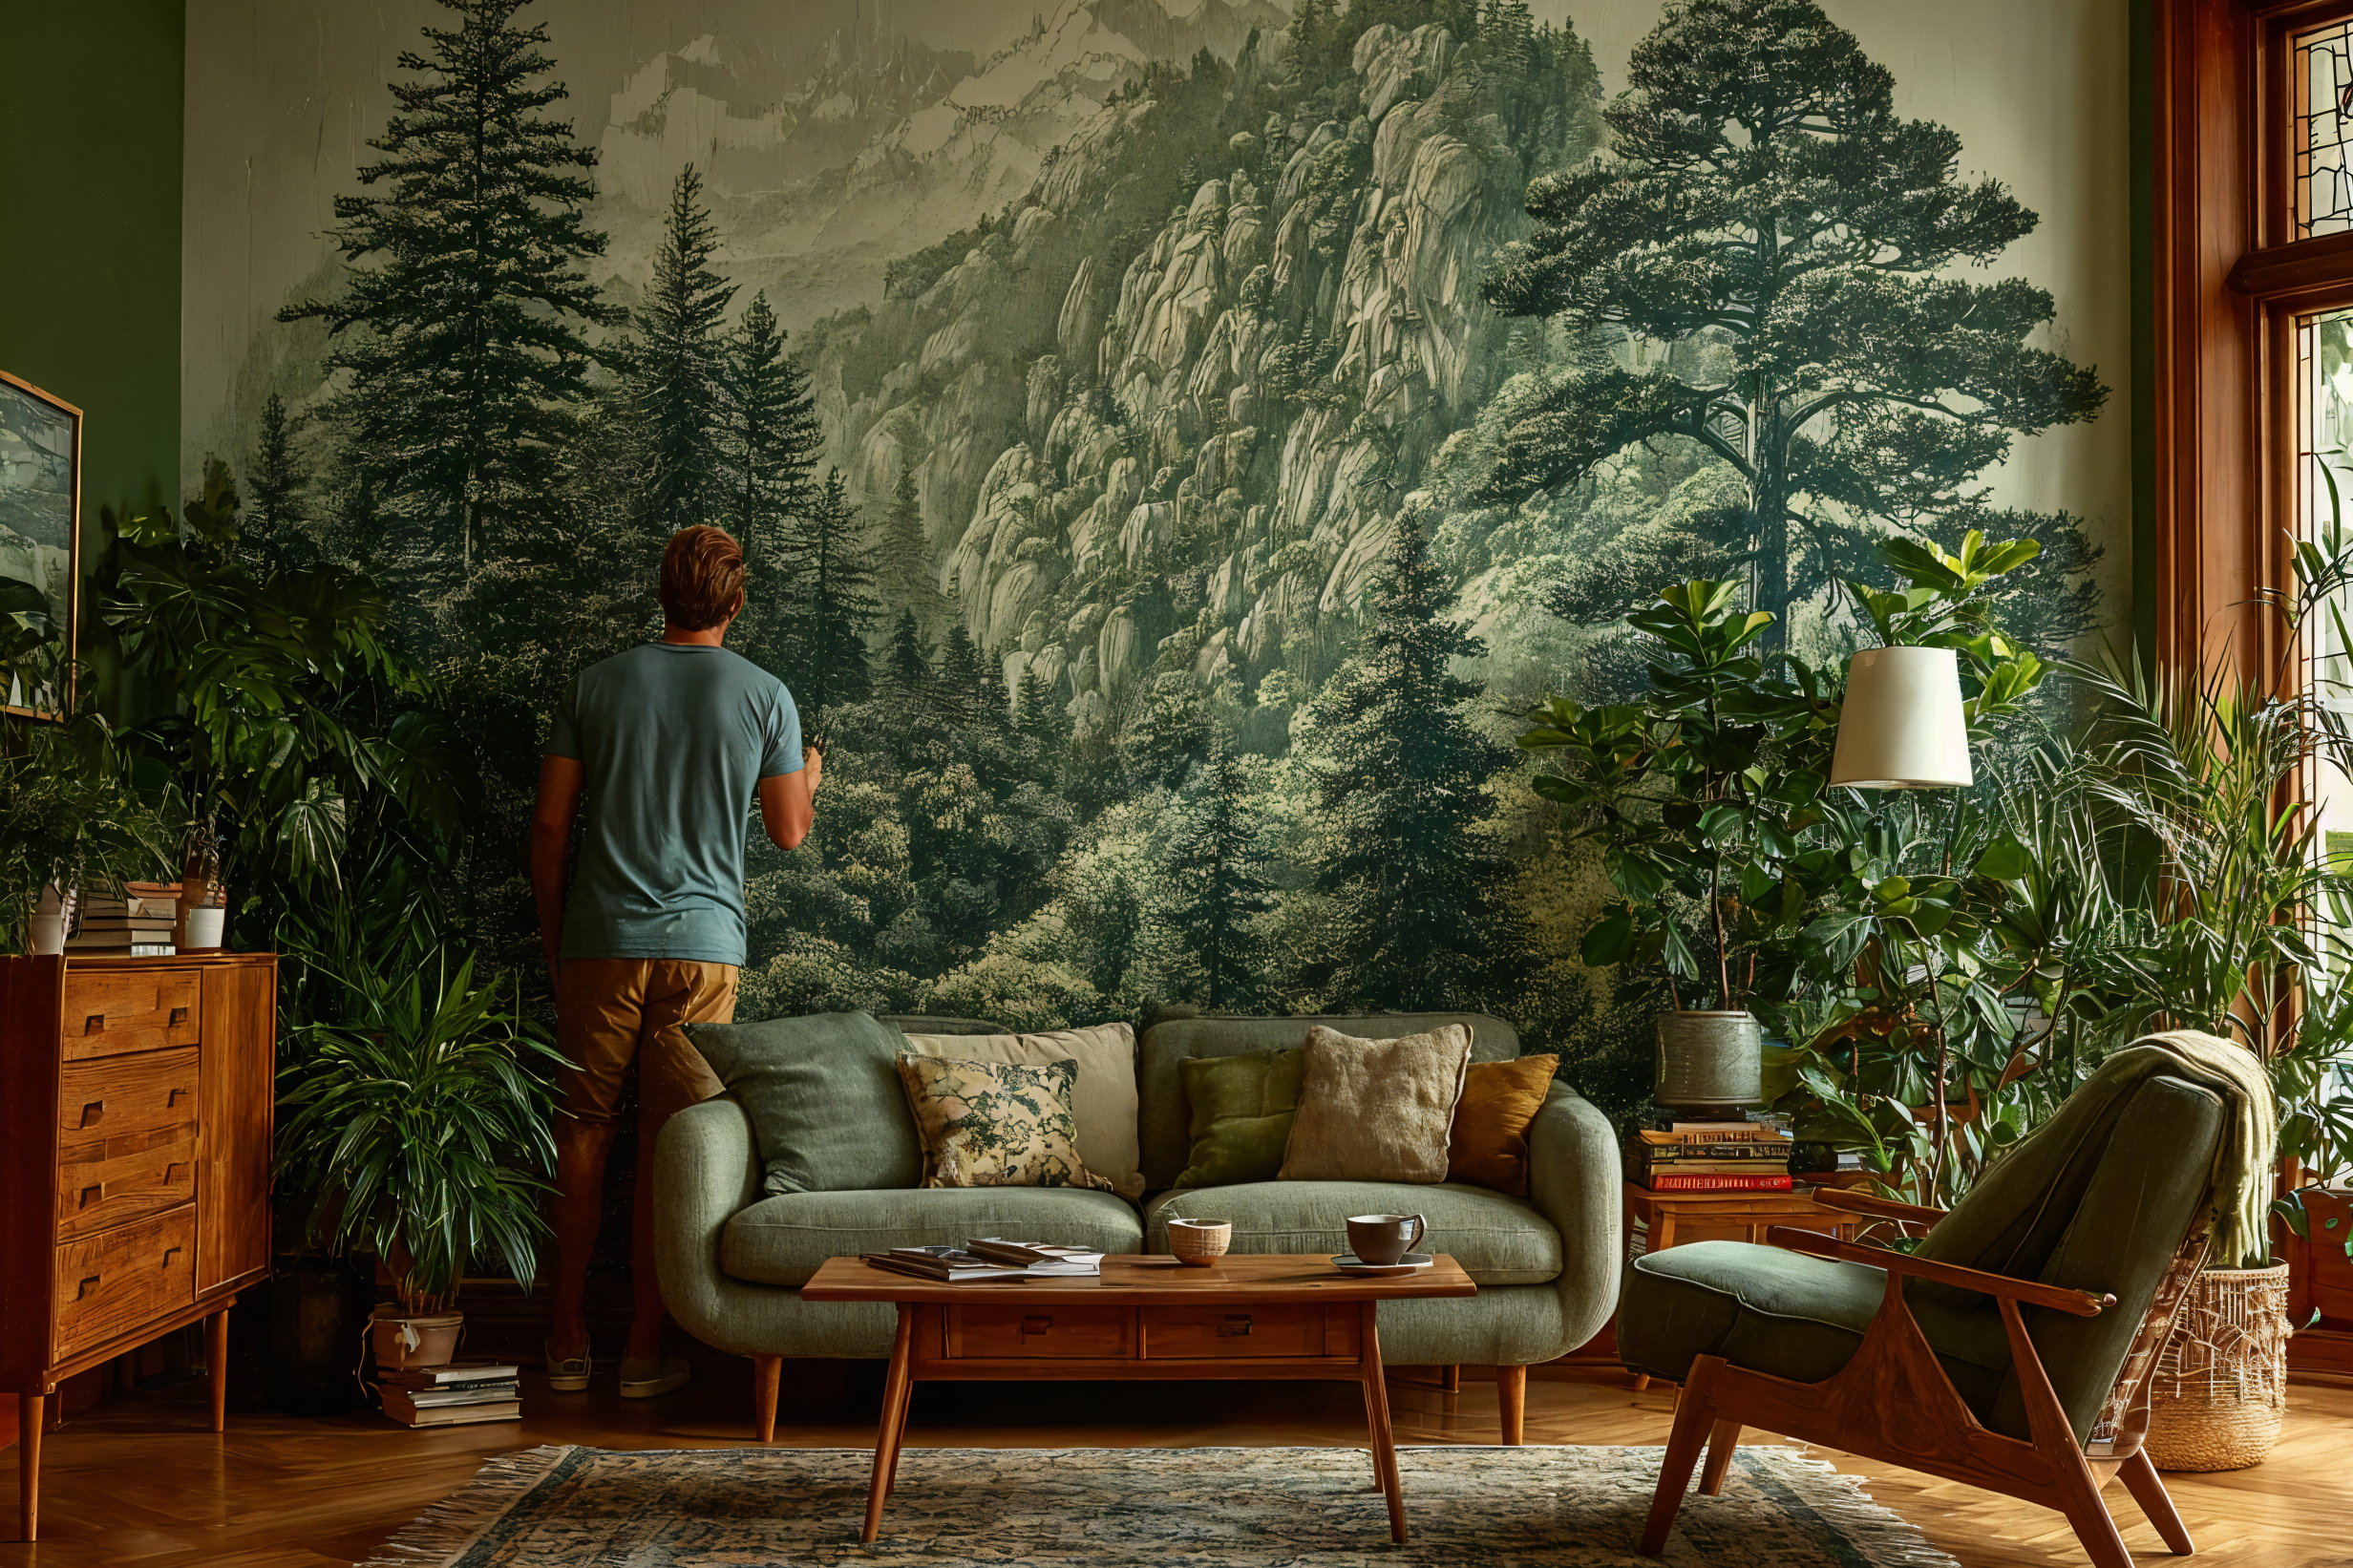
- Wallpaper patterns (florals, textures, geometric motifs) work beautifully for continuous coverage.
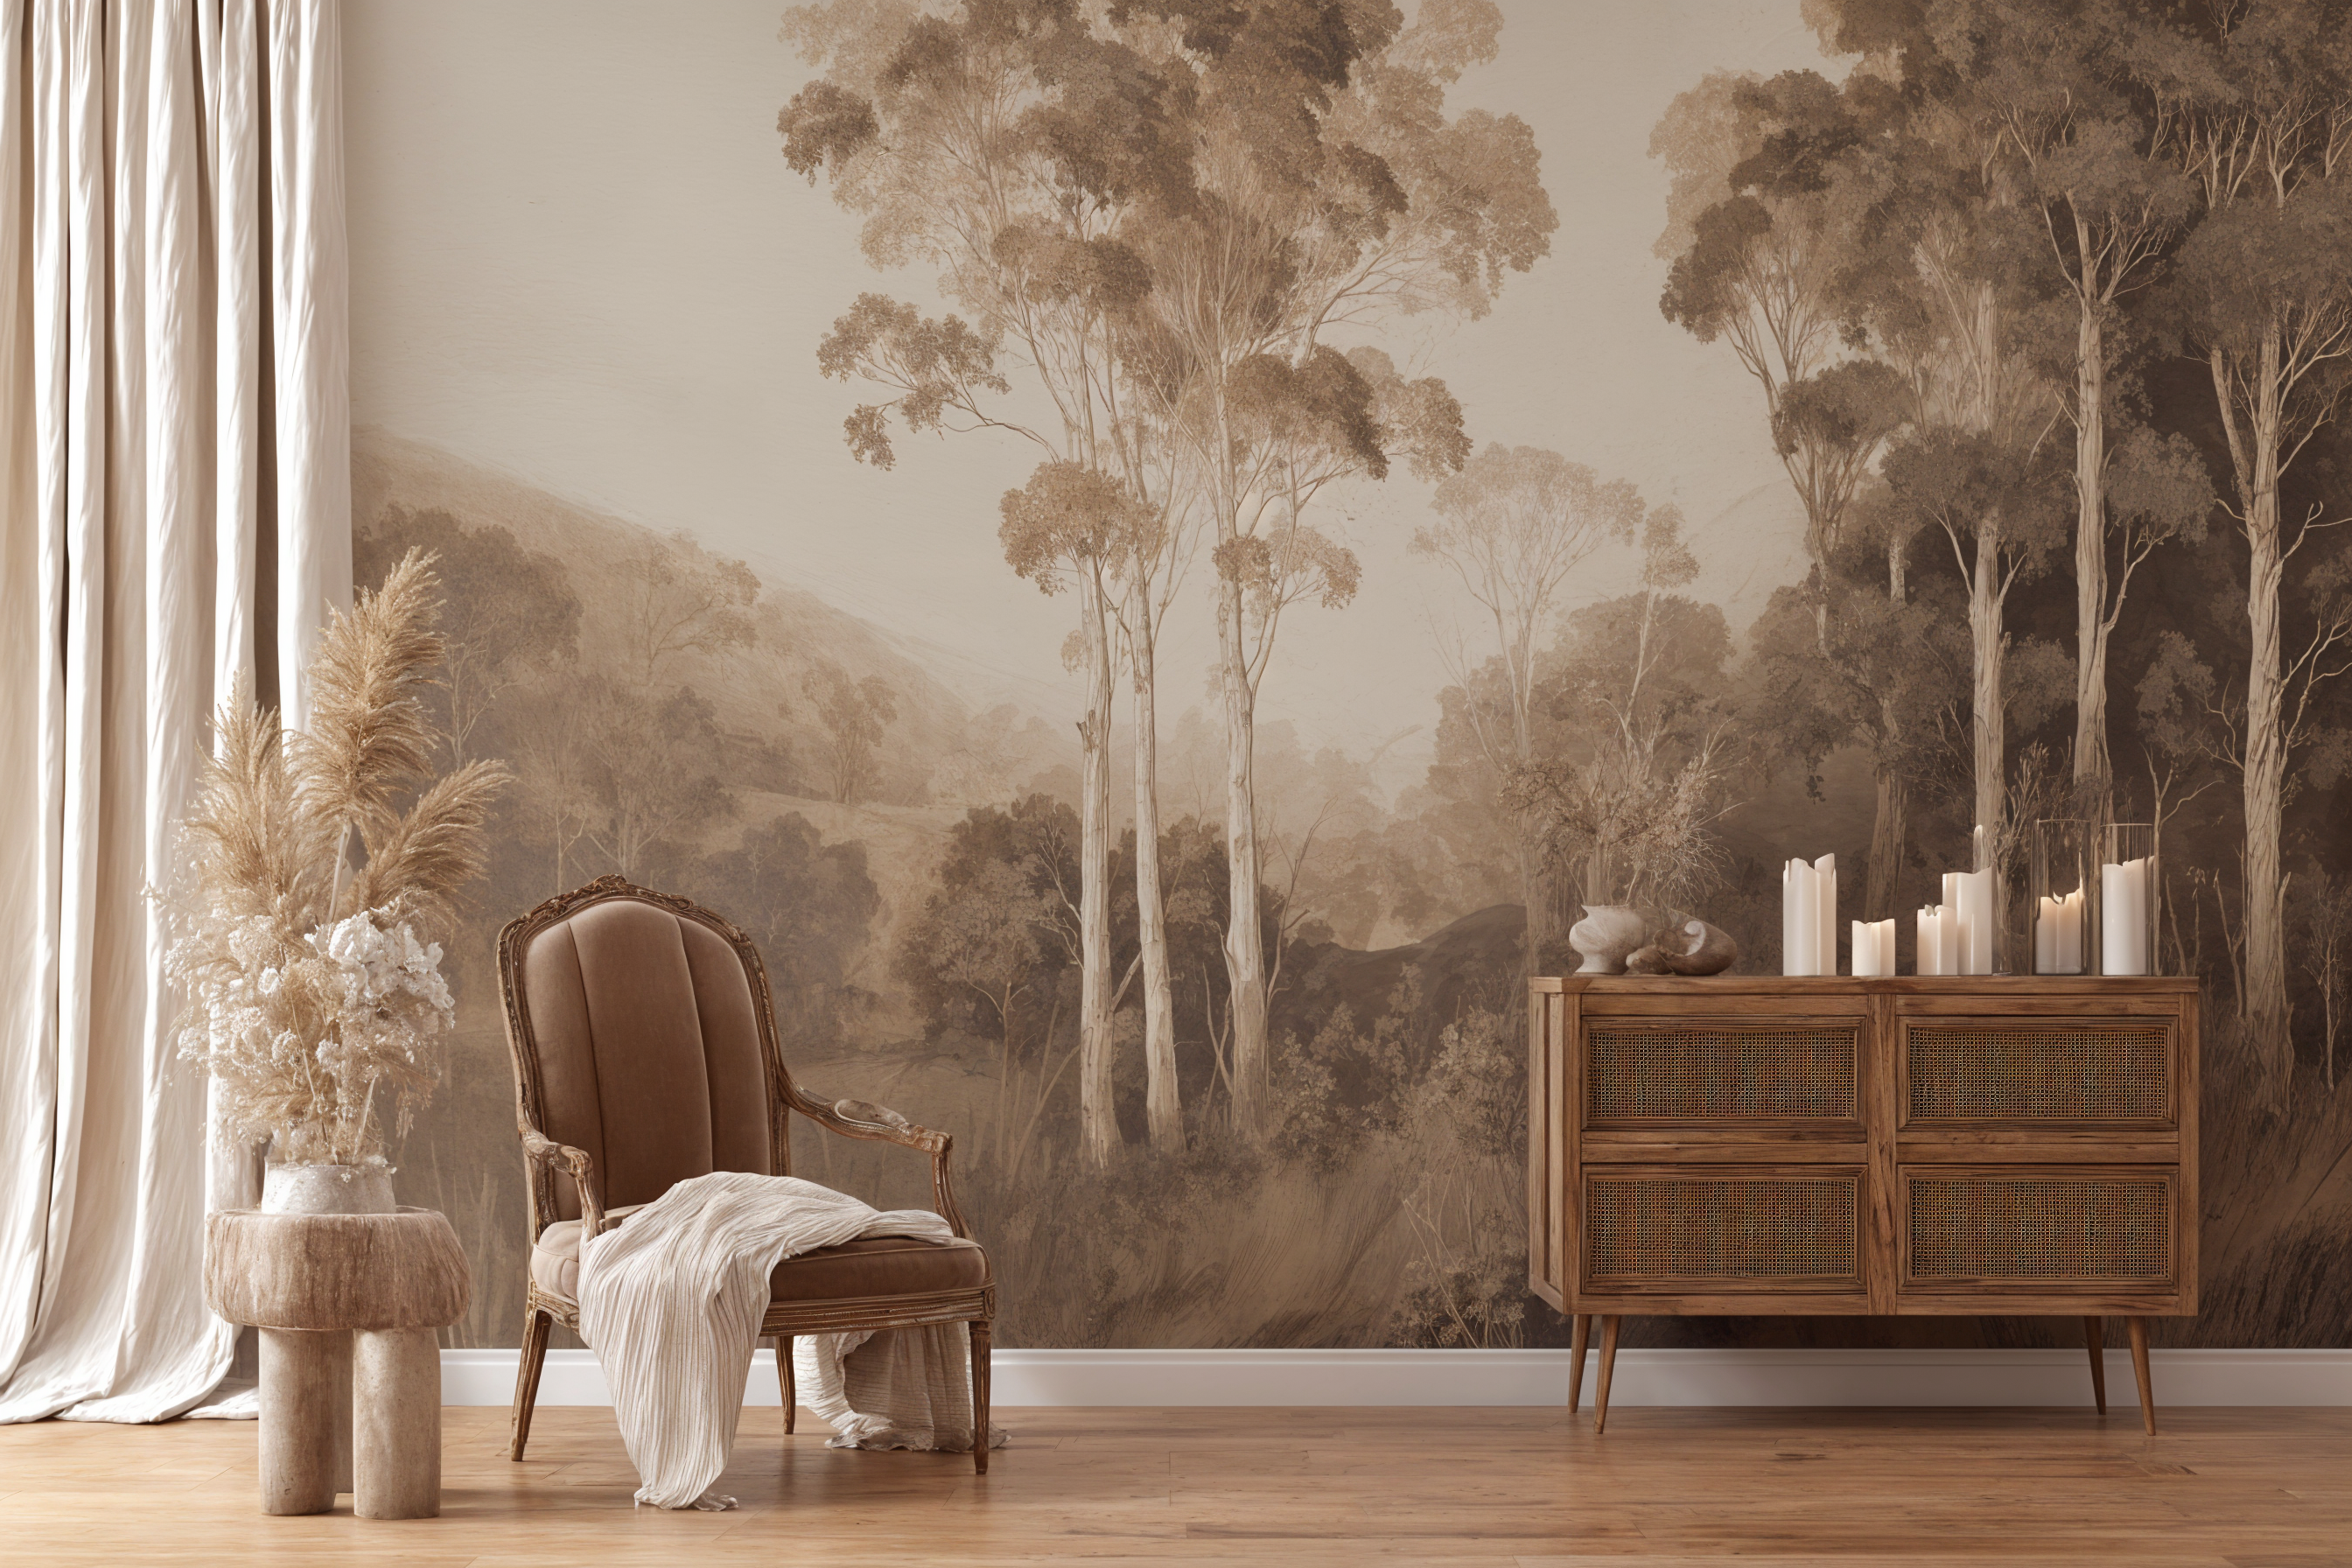
- Murals can transform ceilings into artistic statements — think sky scenes, clouds, stars, marble domes, or architectural illusions.
We print both murals and wallpapers in custom panels, precisely tailored to your ceiling size.
✅ Benefits of Custom Panels:
- No unnecessary material waste
- Easier handling and alignment overhead
- Perfect pattern matching between panels
- Fully customized murals scaled to your ceiling dimensions
Tools You’ll Need
- Ladder or scaffolding
- Measuring tape and pencil
- Level or laser guide
- Utility knife with sharp blades
- Straight edge or ruler
- Soft smoothing brush or wallpaper squeegee
- Seam roller
- Drop cloths and painter’s tape
- Clean, damp sponge or cloth
Step-by-Step Guide to Wallpapering a Ceiling
1. Prepare the Surface
Clean the ceiling thoroughly — remove dust, cobwebs, and any peeling paint. Fill holes and cracks, and ensure the surface is dry and smooth.
2. Measure and Plan
Measure your ceiling carefully and plan where each panel will go. Start from the window or main light source so that seams are less noticeable. Mark your guide line with chalk or laser.
3. Cut and Organize Panels
If you ordered from Chic&Kiddo, your wallpaper or mural arrives in numbered panels for easy, seamless installation. Lay them out on the floor in order before starting.
4. Apply Adhesive (for Non-pasted)
Apply wallpaper adhesive evenly to the ceiling (not to the paper) using a roller or brush. Work in small sections.
5. Install the First Panel
Align your first panel along the guide line. Smooth gently from the center outward to remove bubbles. Trim excess along the edges.
6. Add Remaining Panels
Continue panel by panel, matching edges carefully. Butt seams together — do not overlap.
7. Smooth and Clean
Use a seam roller to flatten edges. Wipe off any residue with a damp cloth.
8. Let It Set
Allow at least 24 hours for the wallpaper to fully dry.
📌 Pro Tip: Always install ceiling wallpaper before wall wallpaper.
Common Ceiling Wallpaper Mistakes (and How to Avoid Them)
| Mistake | Why It Happens | How to Avoid |
|---|---|---|
| Sagging paper | Too much adhesive | Apply moderate adhesive evenly |
| Misaligned seams | Poor panel positioning | Use alignment marks |
| Air bubbles | Insufficient smoothing | Use a smoothing brush or squeegee |
| Uneven edges | Overlapping panels | Butt seams and trim cleanly |
Maintenance & Longevity
- Non-woven wallpapers can last for years when installed on a clean, prepared ceiling.
- Peel & stick designs are easily removable — great for renters.
- Clean gently with a damp cloth (avoid scrubbing).
- Always test a small area first.

Design Ideas for Ceiling Wallpapers & Murals
- Sky murals: soft clouds, blue skies, constellations.
- Botanical patterns: palm leaves or wild florals for natural depth.
- Abstract textures: marble, terrazzo, metallic shimmer.
- Geometric designs: symmetry that visually opens the space.
Final Thoughts
Installing wallpaper or murals on a ceiling isn’t just a design choice — it’s a statement. With the right preparation, tools, and material (especially non-woven non-pasted), you can create a stunning ceiling that transforms your space.
We produce custom-sized ceiling wallpapers and murals in easy-to-install panels, ensuring perfect alignment and minimal waste. Whether you’re dreaming of a starry sky mural or a modern geometric ceiling, we’ll make it fit flawlessly.
Laisser un commentaire
Ce site est protégé par hCaptcha, et la Politique de confidentialité et les Conditions de service de hCaptcha s’appliquent.